Setup user authentication with Salesforce
This article provides a quick start guide for adding Salesforce Login to Authress, so that your users can use their Salesforce account to authenticate into your software. This guides uses a Salesforce Connected App to facilitate authentication via OAuth/OpenID. Alternatively, to authenticate users via the Salesforce SAML flow instead, set up a custom SAML connection.
In this guide we’ll set up Salesforce login. Setting up authentication requires the following parts:
- Authress-Salesforce OAuth configuration
- Salesforce Connected Apps configuration
- Testing the configuration
If you are looking to enable admin login access into the Authress Management Portal using your corporate IdP see the Authress Management Portal SSO Configuration.
Prerequisite: Salesforce Instance
In order to enable your users to log in with their Salesforce Account, you will first need a Salesforce instance. You can do that by Registering for a Salesforce account.
1. Authress Connection configuration
The first step is enabling the Salesforce preconfigured Authress connection in the Authress Management Portal.

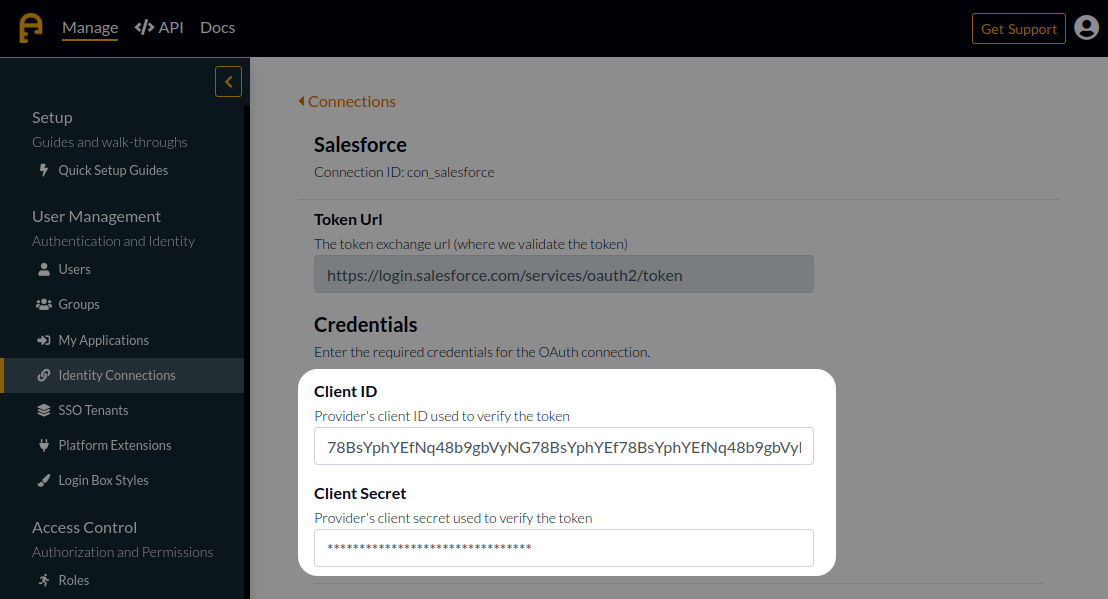
You will see there are the missing fields Client ID and Client Secret.
2. Salesforce Connected App Creation
Now, we can create a new Connected App. This app is what your users will see when the choose to sign in with Salesforce.
Navigate to the Salesforce Console and create a new Connected App. This process in complex and involved, and so the explicit instructions for creating the app can be found in the Salesforce Help on Creating a Connected App.
- Make sure to enter a helpful name for the
API Namesuch as Authress, so you can easily find it later, and fill out the rest of the basic information fields.
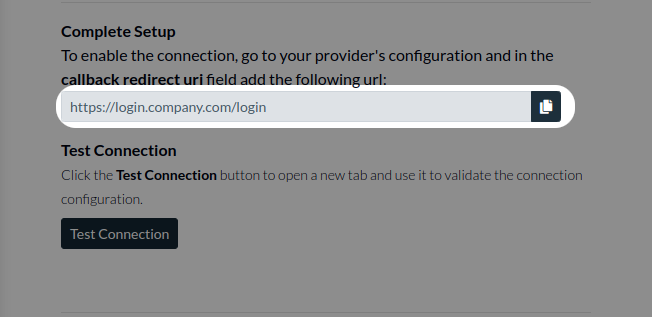
Select Enable OAuth Settings, and then enter the callback URL.
- The
callback urlmust be your Authress Custom Domain url. This is the domain you set up in your Authress account. We'll assume for this example it ishttps://auth.yourdomain.comand therefore the redirect URI ishttps://auth.yourdomain.com/login.
- Additionally, enable
Require Proof Key for Code Exchange (PKCE) Extension for Supported Authorization Flows.
Once the creation process is completed we'll retrieve the necessary Client ID and Client Secret from Salesforce.
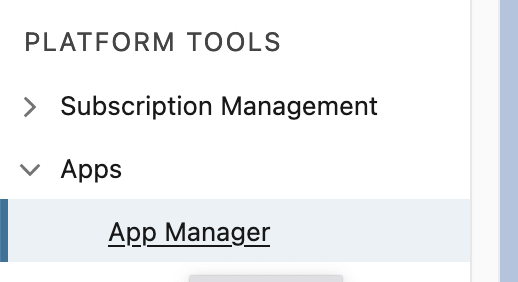
- First, navigate to the
App Manager.
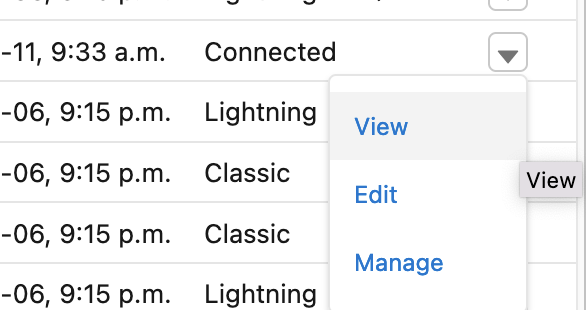
- Find the
ConnectedApp, and click the down arrow, then select View
3.From there click on the select Manage Consumer Details button in the API (Enable OAuth Settings) section.

From there copy out the Client ID and Client Secret, we'll need to enter them into the Authress created connection.
Salesforce Connected App Client Configuration
Now that the App is created in Salesforce we can copy the Client ID and the Client Secret from the console and store it in Authress. Enter those two values into the corresponding properties of the Salesforce Preconfigured Connection.
Enable users to login with the Salesforce Connected App
Even though we have connected everything up, your users won't be able to log in until they have been granted access to your connected app. This is controlled individually at the Salesforce instance level, but you can enable it for your Connected App for your instance.
Navigate to the Connected Apps > Connected Apps OAuth Usage > Manage App Policies.

Then update the OAuth Policies and set the Permitted Users to be All users may self-authorize:

Validate the configuration
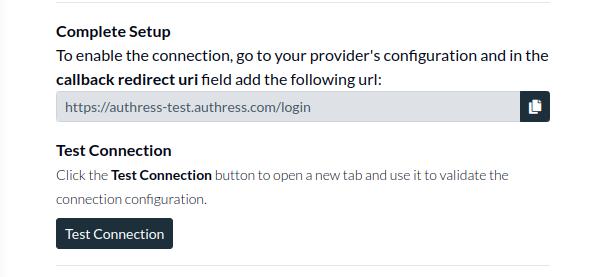
At this point you have completed the setup. That means we are ready test the connection. You can test the connection in the Authress Connection configuration by clicking Test Connection, or by clicking here: Salesforce test connection button
When everything is configured correctly you'll see the test login success screen:

