Setup user authentication with Login with Facebook and Meta
This article provides a quick start guide for adding Facebook Login to Authress, so that your users can use their Facebook Account Login to authenticate into your software.
If you are looking to enable admin login access into the Authress Management Portal using your corporate IdP see the Authress Management Portal SSO Configuration.
In this guide we’ll set up Facebook Accounts login. Setting up authentication requires the following parts:
- Authress-Facebook OAuth configuration
- Facebook Developer Network Registration
- Testing the configuration
Prerequisite: Facebook Account + Facebook Developer Network
In order to enable your users to log in with their Facebook Account, you will first need a Facebook account. You can do that by Registering for a Facebook account.
You’ll need to create a Facebook account to set up applications on the Facebook Developer Network (YDN).
Authress Connection configuration
The first step is enabling the Facebook preconfigured Authress connection in the Authress Management Portal.
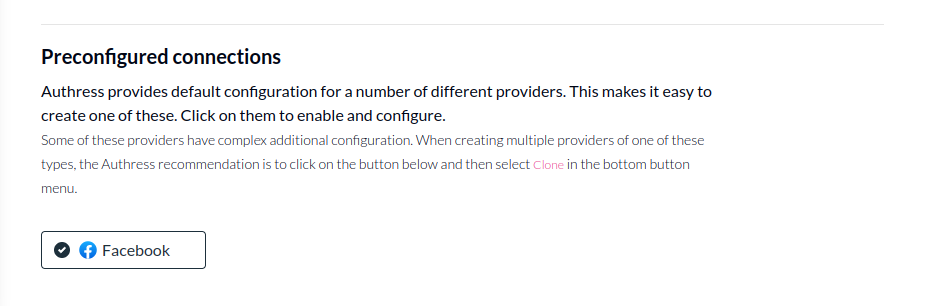
You will see there are the missing fields Client ID and Client Secret.
Facebook App Registration
Now we can create a new Facebook Application. This Facebook Application is what your users will see when the choose to sign in with Facebook.
Navigate to Meta for Developers to create an application.
- Enter a
Application Nameas Authress, click No I'm not building a game, and set the App contact email to be your application's support email.
1. Authentication and account creation
Then in the Authentication and account creation section click Customize, then click Settings > Go to settings
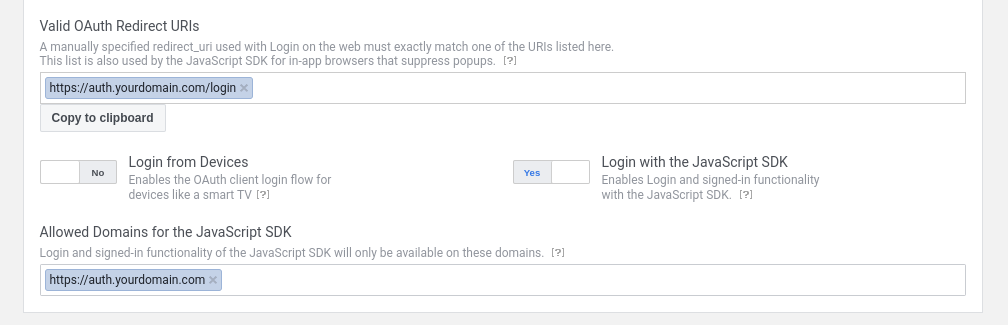
Enable Login with the JavaScript SDK.
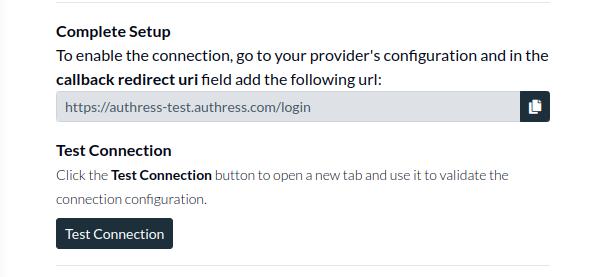
Set the Valid OAuth Redirect URLs to be your Authress Custom Domain url. This is the domain you set up in your Authress account. We'll assume for this example it is
https://auth.yourdomain.comand therefore the redirect URI ishttps://auth.yourdomain.com/login. This value is available in your new Authress Connection for Facebook in theComplete Setupsection of the connection from the previous step.
- Then click Save changes.
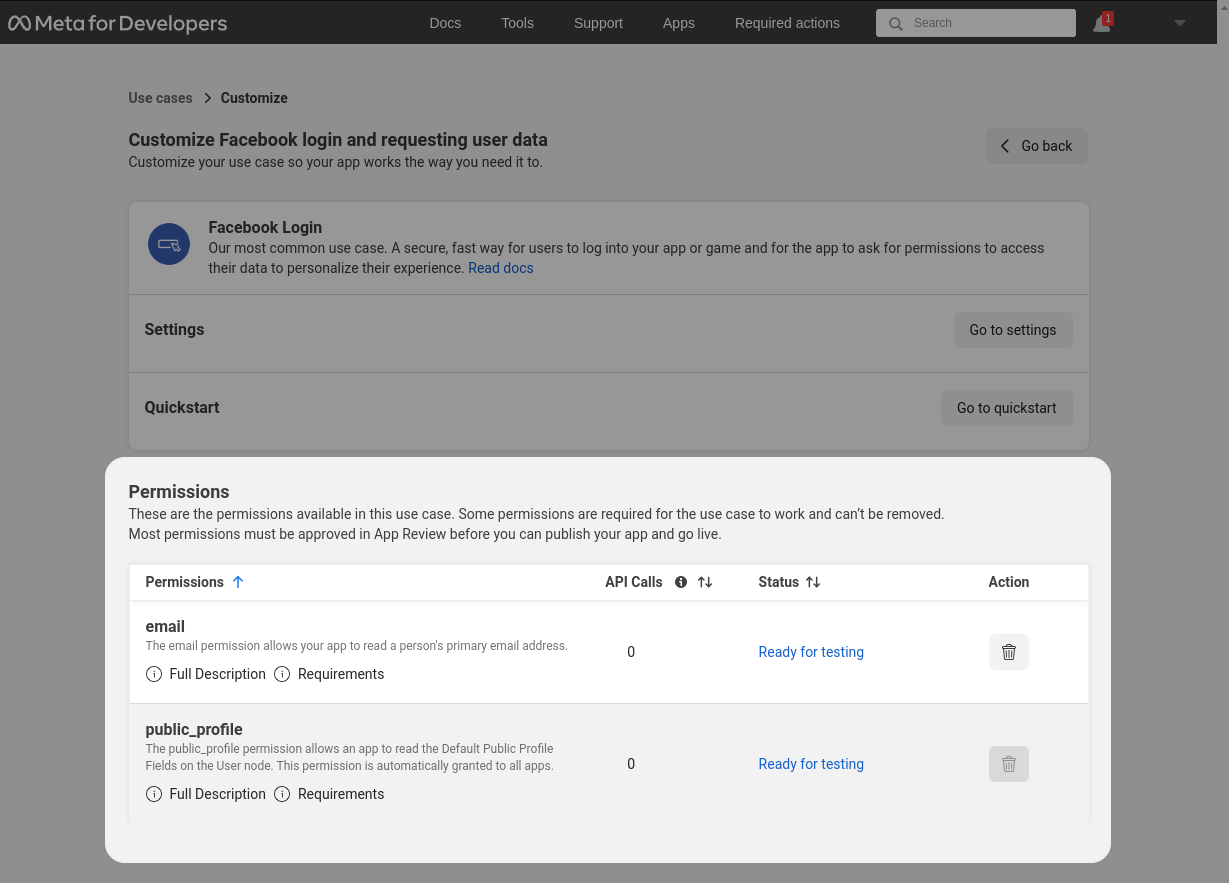
2. Permissions
Then under Permissions add email and whatever other scopes and permissions are necessary for your app.
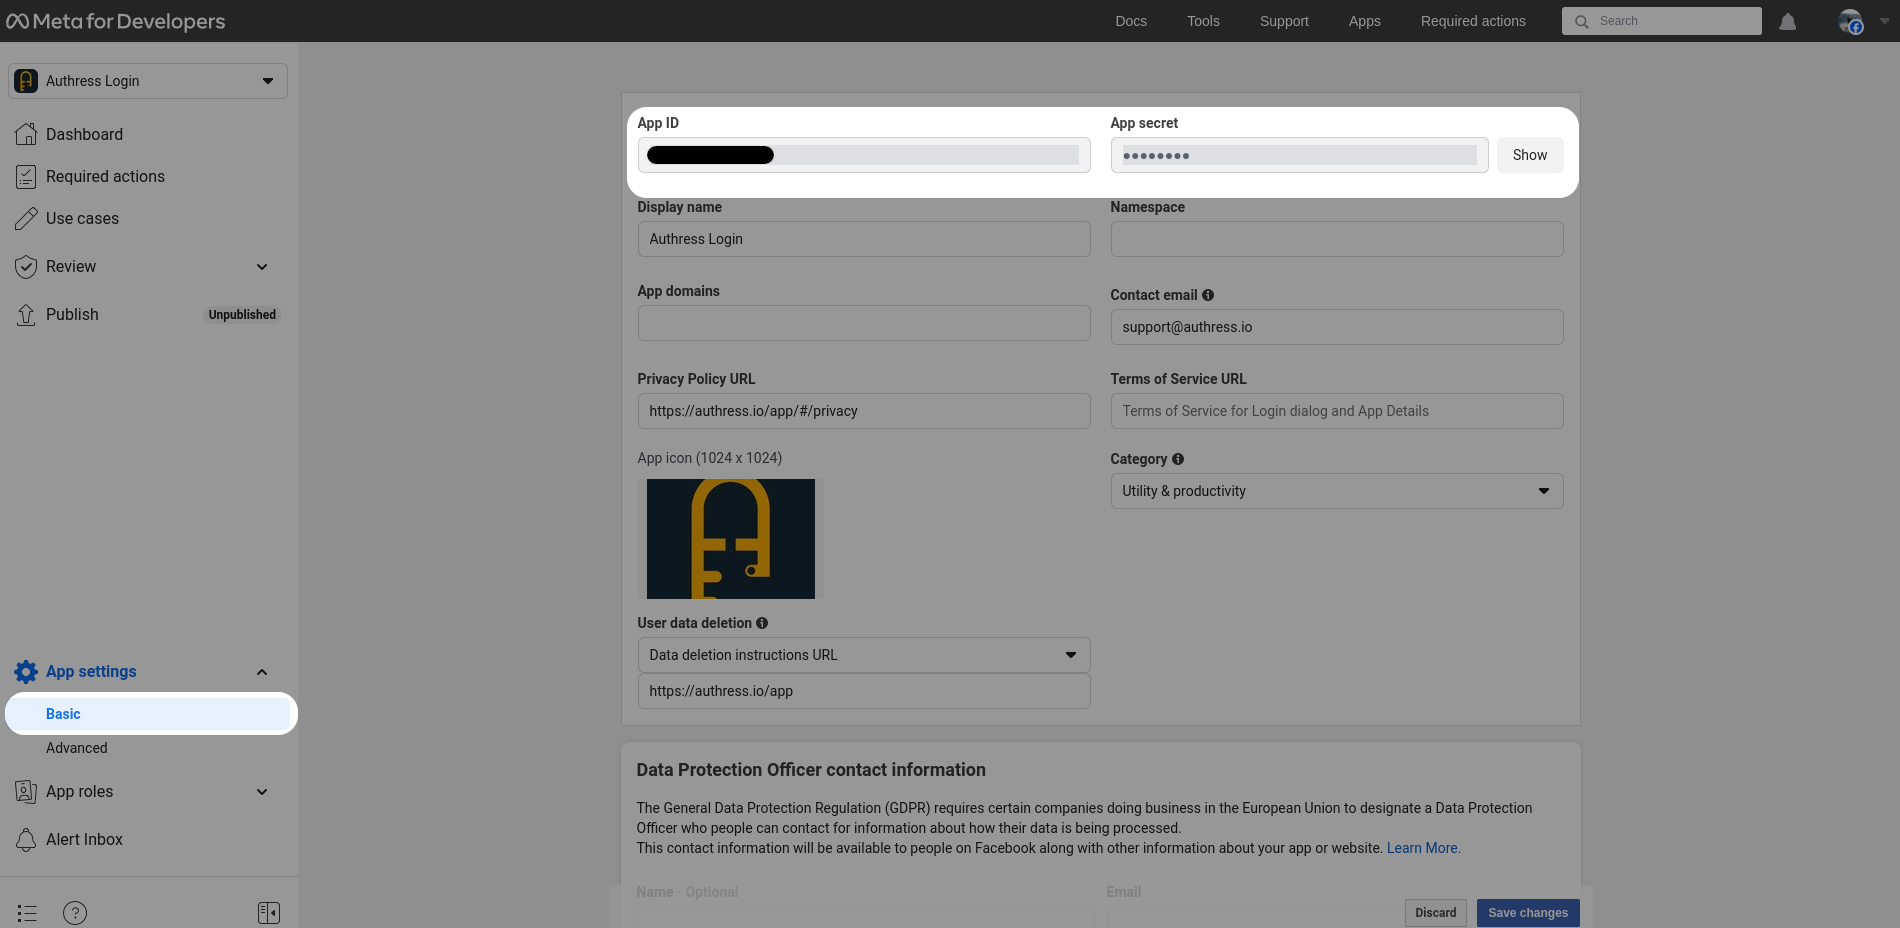
3. Facebook Service Client Configuration
Now that the App is created in Facebook we can copy the App ID and the App secret from the console and store it in Authress as the Client ID and Client Secret.
Navigate to the App Settings and click Basic.
Validate the configuration
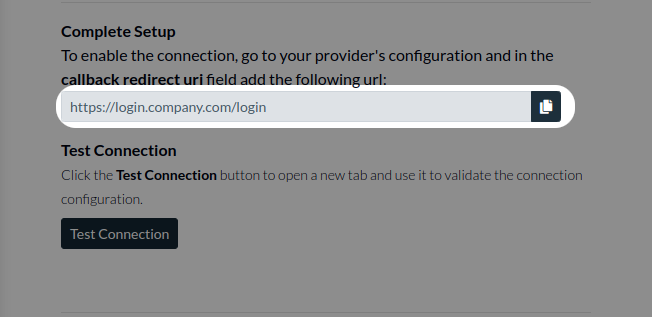
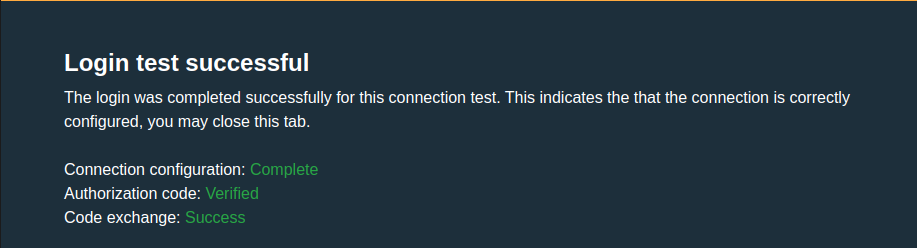
Now the setup is complete and you are ready to test connection. You can test the connection in the Authress Connection configuration by clicking Test Connection:
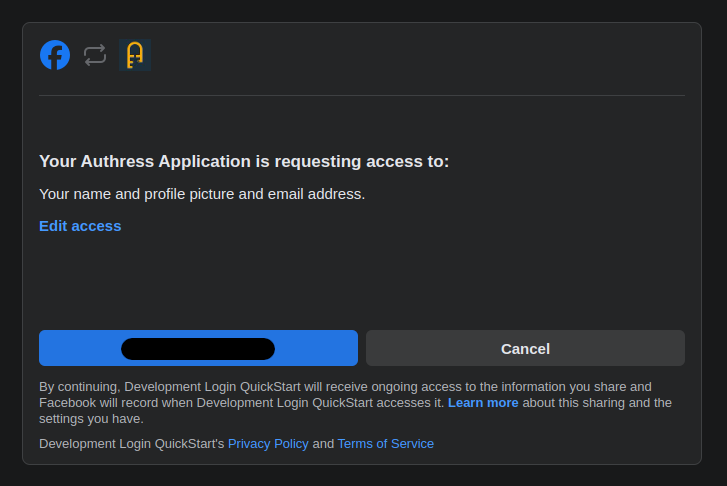
When everything is configured correctly you'll see the test login success screen:
Troubleshooting
Invalid Scopes
If you receive the error Invalid scopes: email where email or another scope is specified, this is because your Authress Identity Connection specifies the Scopes value to be different than the ones that have been approved for your Facebook App in the Facebook App configuration.
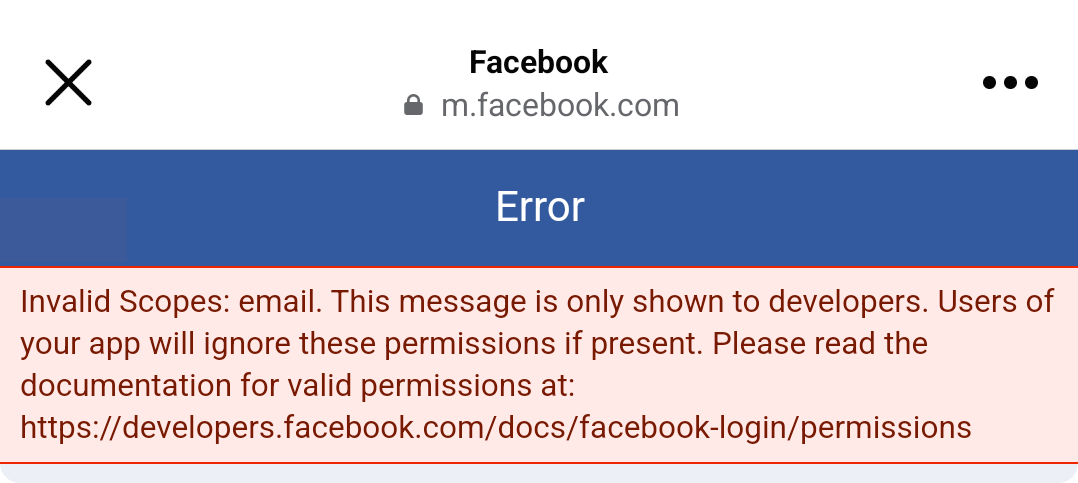
In this case, review your permissions assigned to the app in the Facebook Developer's portal.
If you are using the Authress provided credentials in the Facebook preconfigured connection, instead of one managed by your company, then the scopes will always be email and public_profile and this cannot be changed. If you would like to use different scopes, click the Clone button in the connection, and set the Default Scopes that you would like to use. Alterantively, you can pass in the scopes using the ConnectionProperties parameter found in the LoginClient.authenticate() method.