AWS Single Sign-On
This article explains the process to connect AWS SSO Identity Center and SSO applications in your AWS account to Authress. This allows your engineers to log into Authress using your AWS account.
The SSO Application configuration is located in AWS IAM Identity Center.
Create the Authress App in the AWS Application Portal
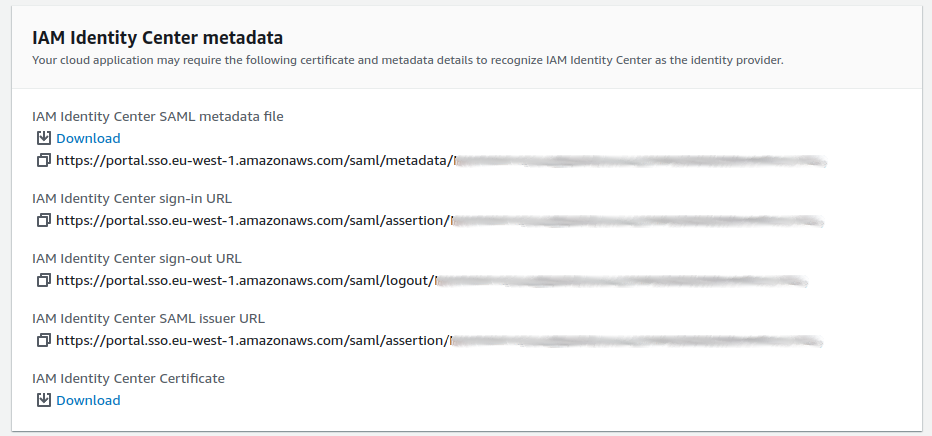
AWS supports the SAML flow, so navigate to the Portal and a new application. Review the SAML metadata fields and download the IAM Identity Center Certificate:
Configure the Authress Service Provider
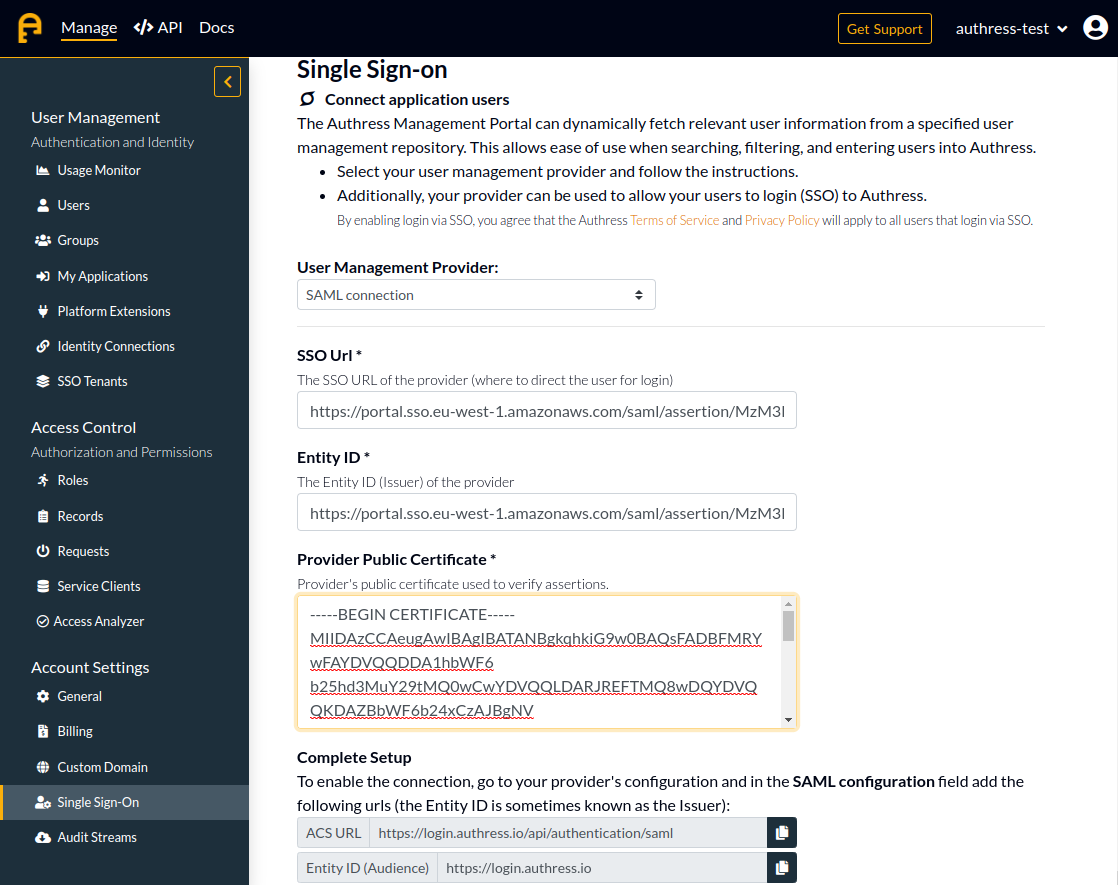
Open the Authress management portal to the Single Sign-On options and select SAML connection as the User Management Provider. We'll then fill out of the fields that can be found in the AWS application portal:
- In the
SSO Urlproperty enter theIAM Identity Center sign-in URLfrom AWS. - In the
Entity IDproperty enter theIAM Identity Center SAML issuer URLfrom AWS. - Then open the downloaded certificate and paste the contents into the field in Authress.
Easy login
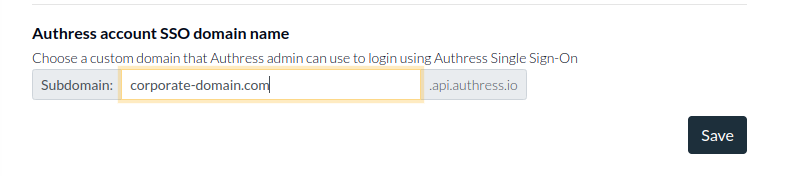
To allow automated login through AWS, you'll want to choose an Authress account SSO domain. This domain is part of the SAML Start URL configuration in AWS and makes it easy to directly log in. This field can be anything not already chosen by another account, but we recommend your corporate domain:
Configure the AWS application
Next complete the Authress setup by copying the three Authress SAML values back to AWS. It is important that these three values exactly match the ones found in the Authress Management Portal:
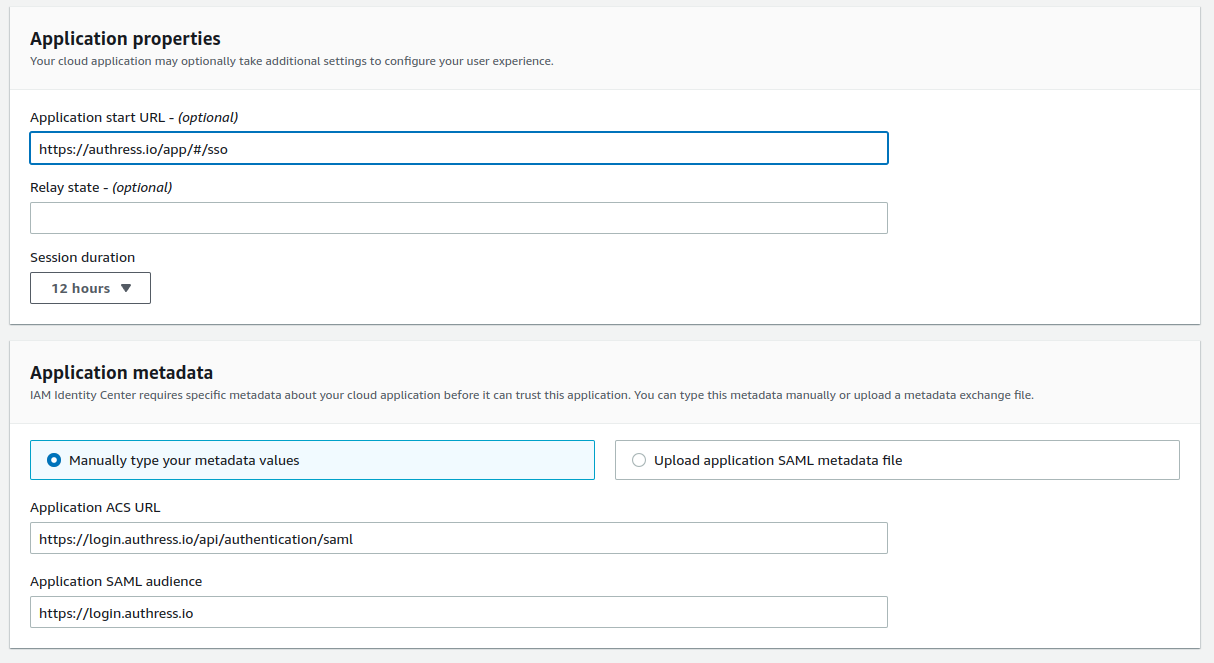
Complete the AWS application configuration
There is one more step that is required for the application configuration. Edit the application attributes:
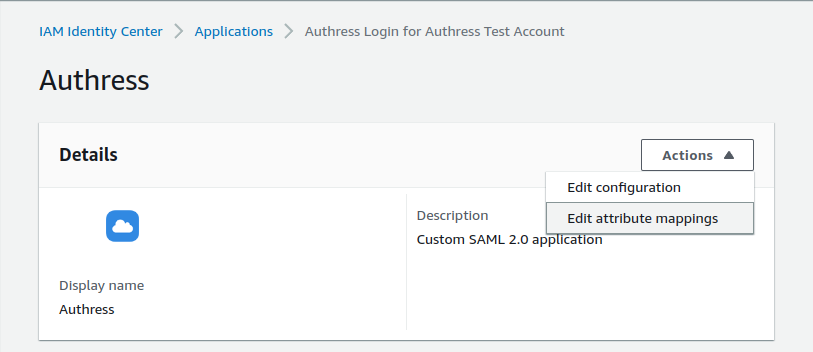
And set the empty mapping for Subject to have the value ${user:email}

Finishing up
In Authress there is one more step, and that is to select your SSO quick domain. This domain should be your corporate domain and makes it easy and fast to login to Authress. This domain also is part of your Start URL so
Now save both your AWS SAML application, and the Authress configuration, and you are done. To test out your new connection navigate to, to your AWS application portal and select the new SAML app from the dashboard or navigate to the Authress SSO Login screen and specify the AWS corporate domain value you entered earlier into your configuration.
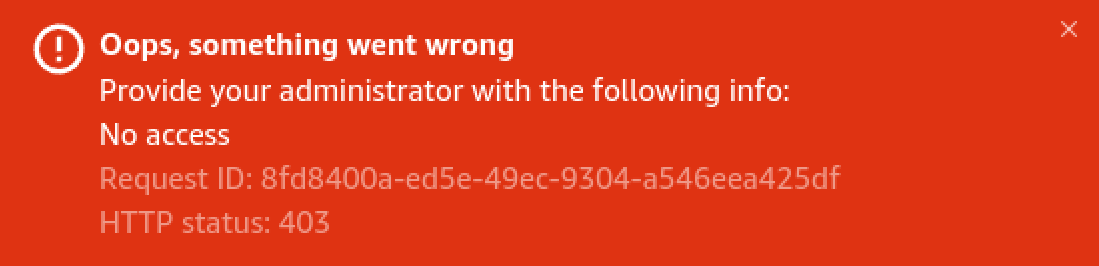
Troubleshooting
In the event you a 403 or a 404 from AWS upon logging in, update your AWS application configuration. This error means that the attribute configuration must be updated. Review the above sections for the expected attribute mapping in AWS: