Getting started with Authress
Authress provides Authentication and Authorization. Or in other words user identity management as well as the complex access controls for those users. These users can be your external users/customers/businesses (CIAM + OpenID + SAML) or internal employees and engineers (IdP + IAM).
Next steps:
1. Signing up
Before you can use Authress API, you need to create an account with us. Create an Authress account
During the signup process, we’ll ask you to login with one of our federated login providers. After you sign up you'll be able to configure your company’s SSO (Single Sign On) solution. For sign up, we require one our default providers.
2. Select a Quick Start Guide
Authress offers a number of different quick start guides to help walk you through setting up your account and get connected. If you are just looking to demo Authress or if you are setting up your PoC, this is a great place to start. There are guides for:
- Authentication setup
- Authorization configuration
- API Key and Machine-to-Machine security
- CI/CD integration and Access Records as Code
- Local Development testing
3. Integrating your software with Authress
Integrating with Authress is easy. You can either call our APIs directly or download an SDK.
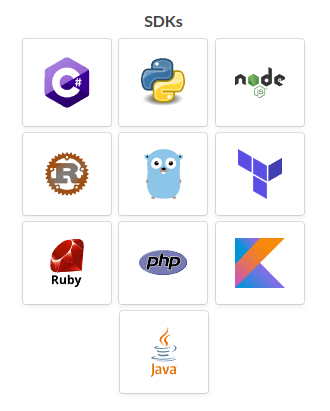
Authress has SDKs for the most common languages. If we don’t have the one you are looking for, let us know and we’ll work on releasing it.
Choosing a path
Authentication or Authorization
Auth is complex space, and Authress provides many features to support Auth. Part of the challenge is separating Authentication From Authorization.
- Authentication is your user sign up and sign in flows. It is your user identity management. It's integration with external identity providers such as Google and Azure, and provides SAML, OpenID, or OAuth integration.
- Authorization is your access control. This creates and restricts access to your services, grants users permissions, and audits their access. This is roles, permissions, service-to-service, machine clients, and access records.
If you already have an existing system, we recommend starting with Authorization. You can drop Authress into your platform and already start getting the benefit. Extend your platform with the security you need. If you are building something new, such as a new software application or building something more complex like a plug-able platform, we recommend starting with Authentication.
📄️ Authentication
User IdP Management & Login
📄️ Authorization
Access control and permissions setup
Custom Domains
Throughout the docs you'll see additional opportunities for configuration. One of these is the configuration of a custom domain. Authress provides a unique DNS host for your account that looks like acc_001.api.authress.io. Adding a custom domain on top of this provides additional security and reliability. To set up the custom domain, follow the Custom Domain setup guide. Setting up the domain not required however it is highly recommended.
In the knowledge base we'll assume that you've configured your Authress custom domain (often specified as authressCustomDomain) to be auth.yourdomain.com. That means you own the yourdomain.com DNS domain, and gave Authress access to utilize the subdomain auth.yourdomain.com. As such you will see auth.yourdomain.com used in SDK and code examples.
